Self Care Relief Society Activity

During the Pandemic we really struggled to know which activities to do, this activity was our one and only Zoom activity and I was very grateful. I prefer to meet in person, I like to do the decor, refreshment, party favor and see everyone IRL… but we still managed to make this activity pretty cool. You could do it as a Zoom activity or in-person.

As you can see we decided to do a “self-care” activity, to be nourished spiritually, mentally, physically & emotionally. I shared a spiritual thought about the current “Come Follow Me” lesson that week, it happened to be about Repentance. I shared my thoughts on how Repentance is a form of self-care, a relief from anything heavy we are carrying. Next we had one of our ladies lead a Yoga session that we could do from home, it was so good, she had us do deep breathing and a small meditation. We then had a Psychologist in our ward share a message about self-love and kindness, it was just a little 5 minute message that was excellent!

Finally, we had a tutorial from one of our ladies on making a sugar scrub, super easy to do, and using items that you have at home! It smelled so so good and makes your hands and arms so soft!

At the end I told them that I had e-mailed them a self-care coloring page, which can be relaxing to sit still and be creative, as well a worksheet that reminds them of their self-worth and a few questions to prompt them to recognize how special they are in the eyes of our Heavenly Father. When you care for yourself, you can show up for your loved ones more fully and a renewed energy.

To close we all shared some ways that we practice self-care, some said they read a book, exercise, go on a walk, bake something, take a bath. It was a fun way to connect, relax and get to know each other a little bit. And to remember to take care of ourselves! I was surprised, we had a decent turn-out. You just never know with these kinds of activities because it isn’t really normal for our ward, at least a lot of the ladies were used to virtual church so that helped!

Click download below to get a free PDF bundle of the worksheet, coloring page, and sugar scrub recipe!

Thanks so much for reading, I hope this post is helpful if you want to do a similar activity!

Minimalist Christmas Wrapping + Free Gift Tag Printable

I have been wanting to put together a post like this for some time so I was very excited to finally get around to it!  As you know, I love doing things as budget friendly and inexpensive as possible but still have them look classy and nice and I think I am able to accomplish that with my wrapping skills!

IMG_6561.JPG

Almost everything I gather comes from the Dollar Tree, the ‘dollar spot’ at Target, or various sales at other craft stores such as Hobby Lobby, Michaels, etc.  Here is a list of supplies that will be needed to wrap your gifts with a minimalist look, with a little something extra.

Obviously: Scissors & tape.

Buuuttttt, here is the fun stuff….

  1. WRAPPING PAPER 

    IMG_7945
    All of my plain wrapping paper came from Dollar Tree, I use the mail parchment paper all the time!  The black and white buffalo plaid was just $1 from Michaels.  Look for solids, and neutral colors when it comes to minimalist wrapping.
  2. RIBBONS, STRING, YARN, TWINEIMG_2298

    Bakers twine, yarn, ribbon, string, I’ve even seen strips of fabric used that is really cute.  You can’t really go wrong.  I like to use black, white, brown twine, and obviously red and green to be festive this time of year!  The cute red and green bakers twine in the middle of the picture are from Dollar Tree!

  3. WASHI TAPEIMG_0291

    Washi tape isn’t necessary but can be really fun to add tags or some greenery, or even if you want to wrap your present with it instead of regular clear tape.  I have gathered mine from Wal Mart, Dollar Tree, etc

  4. ACCESSORIESIMG_3101

    It is really fun to add some accessories to the top of your gifts to give them some dimension.  I got some jingle bells at the Dollar Tree, I went outside and got some pine tree branches, and I made the pom pom and tassel you can find the tutorials within the blog.

  5. GIFT TAGSIMG_0780

    The ones pictured come in my free digital download that I hand lettered especially for all of you!  Except for the two small white ones with white strings that come in a pack of 30 for $1 at Dollar Tree.

Okay now that you know what you need, how do you assemble a minimalist gift to look meaningful?  It really isn’t hard at all, just put together a few of the above things that you think would look good together!  I like to start with the wrapping paper, then choose a tag to fit the person I’m giving it to, then match a string to the tag and paper and add either some washi tape or some accessories from there.  You just kind of build off of each other.  I’ll show you some of the combinations that I put together. I like to add a tag that has some contrast on the wrapping so it pops… then play off of the colors in the tag or in the string so it really pulls it out to pack your minimalist present full of punch!  …if that makes sense haha.  Sometimes I just sound crazy.  But you’ve heard of the term “less is more”… this is really where it can come into play, there might not be much going on but your gift looks so simple and thoughtfully wrapped that your gift recipient will really be impressed!

IMG_3138.jpg

I don’t add washi tape to every single package, I don’t add an accessory to every single package, I don’t even add a tag to every single package… the fun thing about it is that you can do whatever you want and there are soooo many options!

IMG_3154.JPG

I did add a tassel to this gift and if you want to find instructions on how to make your own (it’s super easy), go watch my YouTube tutorial here.

IMG_3148

This group of gifts was suuuppper simple, but I’m really loving the aesthetic.  Notice the small pops of color with the washi tape.  If you are wondering how I know who these presents belong to, I just wrote their names on the back.

IMG_3147

The fun thing is that there is no right or wrong way, there are no rules… you can wrap string around several times, or just one strand… you can tape on your tag or you can tie it on, you can write their name on the tag or write it on the back of their present.  Sometimes I just do their first initial.  I love wrapping presents, and I hope this post can help you see how fun and inexpensive it can be.

IMG_3142

IMG_3145

I made this yarn pom pom present topper.  If you would like to know how to put together your own pom pom, you can watch my YouTube tutorial here.

IMG_3077.jpg

And finally, here is my free Christmas tag printable.  It is hand drawn and hand lettered with some of my favorite funny and snarky Christmas movie (and tv show, if you caught the “Impish or admirable” Office) reference(s).

I hope you enjoyed this post as much as I enjoyed putting it together, there will probably be a few more posts in the future like this… because I really love wrapping presents!!  Follow my blog so you can get more freebies like these (I give out freebies ALL. THE. TIME.) and get more ideas for inexpensive but cute gift giving and wrapping!

Merry Christmas & Happy Holidays ya filthy animals!

Signature

Cactus Themed Baby Shower

You guys, this was one of the most fun parties I have EVER planned!  I have had a lot of fun planning parties for my little boy, which have mostly been Star Wars themed… but, this was the first party for my little girl!  I have a weird obsession with cacti and knew right away that this was the theme I wanted to do.  As always, Pinterest is the first place I go to brainstorm and I found some super cute ideas that I would be able to DIY!

Of course, the first thing I did was design the invitation in my procreate app on my iPad, I absolutely love it.  I ended up just doing a Facebook Event and posting it there because I ran out of time to send it, though I prefer to print and send actual invites this did save me about $20-$30.  I texted the image to a couple of my older relatives that I realize are not as tech savvy to Facebook and didn’t want them to miss out on the invitation!

C9A4B0BD-9191-42E2-BB46-49839013346F

After deciding upon keeping the event much smaller than my first baby shower (I kind of went overboard on food and decor, and didn’t realize it was Memorial Day weekend so ended up with TONS of left-overs etc.) also, it was my second baby shower and some people get weird about having more than one so I just wanted it to be kind of low-key.  I kept it open house so people wouldn’t feel obligated to stay, didn’t do games, and only did refreshments rather than a full-on meal, which most people don’t do but I did for my first!  I still wanted to party, because this baby is a different gender than my first, and I love to party… so I didn’t really feel like I needed to justify having a second baby shower.

I still live in a small apartment and though the size of the party would be small, it was still more people than I felt would be comfortable in my tiny space.  If you reach out to your ward-coordinator (if you are LDS) you can arrange to use the church very easily and for FREE.  It isn’t always the cutest venue but it works!  Especially when it’s too cold or too hot outside, so this worked perfect for me.

So, along with keeping it small and not really planning games, I did decide to make a cactus themed coloring page and put out crayons on each table.  This print is available for free along with 4 other prints I designed for this party.  I had my eye on this cute cactus goblet at the dollar store and thought it was perfect for this event, which I used to hold the crayons.  I also printed out a little custom word search with words themed around my baby, you can make one at this website https://thewordsearch.com/maker/, for free!

B942C6EE-881D-4B5C-96FC-9AD2D0B211BB.jpeg

For food, like I said before I just wanted to do refreshments rather than a full on meal so I decided to do a “chip bar” including 7 layer dip, guacamole, and some salsa and then I just did a cake and some small donut bites.  I have been wanting to order some custom letter donuts from the Provo Bakery here in Utah for some time but needed to find the right excuse to do it and this was perfect!!  I was a little sad about cutting up the donut letters and maybe in retrospect I MIGHT have just kept it as a display and ate them afterwards, but at least I have some cute pictures of them before cutting them!  If you are interested in getting some they are only $2 each, so pretty affordable depending on your word or phrase haha!  I also just did water and some raspberry lemonade crystal lite with frozen raspberries and lemon slices to make it look pretty!  If you have planned a party before, I’m sure you know how easy it is for it to get expensive quick, but family members and some friends are usually willing to pitch in or do some kind of pot-luck.  I asked a my sister-in-law to make the 7 layer dip, my Grandma to bring chips, and my Mom to bring the cake, so that was extremely helpful!

I found the cute teal tray and bowl at the dollar store, as well as the clear plastic bowls holding the salsa (12 for $1).  My Mother-In-Law got me the cute tray holding the donuts for my birthday one year.  The cake stand I made from a microwave plate I found at the thrift store and a candelabra from the dollar store, and the drink holders were I think $10 each from Wal Mart and I’ve used them for every party I’ve had since I got them and they have been super worth it!  The cake toppers are 2 plastic succulents I found at the dollar store and a gold cut out that says, “oh baby”.  And I went to a little hole-in-the-wall craft store called Pebbles In My Pocket in Orem to get the die-cut cacti I put on toothpicks into the donuts.

You can find cute plastic-ware, tablecloths, and paper plates and cups at the dollar store but Wal Mart has more color options and they cost about the same.  I obviously went with a color theme of teal, mint, greens and pinks and so I just kind of kept that throughout.  I wanted to display the forks and straws in terra cotta pots because I felt that would be cute and cohesive with the theme, and they are only 77 cents at Wal Mart.  I used a sharpie and put little x’s and v’s on every single cup (40 cups) but I just did it while I watched a show.  And my little metal bucket has been a perfect place to keep napkins for all my parties especially outdoor ones so they don’t blow away!  I got 4 round table clothes, 2 pink and 2 teal, you can buy a pack of 2 at Wal Mart for $2.50.  And the cactus tablecloth was also from Wal Mart, but it’s probably not in stock anymore!

As far as decor goes, I had a TON of fun with it… I made all the cute 3-D cardboard cacti, I put together the balloons myself, I made a cactus sign for the door, I made the banners and I also made the printables.  And I also used some of my succulents and cacti as centerpieces on the tables which turned out really cute.

For Evelyn’s poster, I just got a green poster and cut it in the shape of a cactus then used some glue and glitter I got from the dollar store to put her name on the poster.  Then I used a white paint pen to add “baby shower” and some graphic cactus elements!  Easy peasy!  The banners, I may have over-done, but I couldn’t stop myself haha!  The cacti were die-cuts from Pebble’s In My Pocket and I also was able to buy the pink banner letters to spell “Hey Girl Hey”, and the tissue paper banner was actually given to me by a friend but I did see some at Wal Mart and the Dollar Store that were reasonably priced and you can also easily make your own.  The balloons I did buy, but I used some green water balloons from the dollar store, my exercise ball pump, a sharpie and tissue paper to make the little arms and then tape them to the larger green ballon and add some v shapes to it as well to make them look like cacti!

906912B2-20DE-4F89-A1CA-A4E125D4D898.jpegI’ll now give some instructions on how to make the cardboard cacti because they were probably my most favorite decoration at this party!  Medium thick cardboard is the best for this project, just draw your shape in pencil and cut out and then trace a second piece, unless you are doing some funky arms then I would suggest doing on the base shape and one the unique shape… so there isn’t a ton going on, if that makes sense.  Then cut a slit in the top and a slit in the bottom to slide together and make 3-dimensional.  You can use either tape or hot glue to secure the shape.  Then paint with your choice of paint, you may need up to 2-3 coats of paint.  Once dry, you can use some sharpie or white paint pen to make some cute lines or “prickles” on each one.  And finally, to add some flowers get some pink, red, orange or whatever kind of color tissue paper you want and cut them into some squares, size is really up to you… then wrap the square around the end of a pencil and dip in some glue and repeat this step 3-4 times until you have the thickness or size of flower you want and dip one more time before attaching to your cacti (I did this on the small balloons too).

Here are the printables I designed for this party that are available for free, I created them all as 8×10 but printed them all as 5×7 except for the “Little but Fiece” print which is 8×10.  I just purchased some gold frames at the dollar store because I did have some gold accents throughout the party and put them up with the food and the party favor table.  Click Here to get the free digital download.

And finally, here is a picture of the “goodie bag” with the “Take your prick” printable… It’s just a play on words for “Take your pick”… hopefully no one is/was offended haha, but that’s just my sense of humor so take it with a grain of salt I guess!

84410B54-992D-49D7-8BE8-BFEAB4AD14B6I think that just about covers it!  If you have any questions about this party, where I got anything, how to put things together… just shoot me a message or leave a comment and let me know!  Otherwise, thanks for reading and maybe this will inspire you to have a cactus party of your own!

Signature

FREE Fitness Binder Printables

I have been working on this project for myself because I like to have a plan and make lists so that I can feel like I am making progress.  Especially when it comes to eating healthy, or working out!  I think it is very easy for me to get discouraged when I don’t lose 5 pounds after eating one salad or working out once… haha just kidding.  I wanted to create a way to REALLY keep track of my fitness goals, meal plans, exercise ideas, progress, and thoughts and feelings associated with the process.

I’ve had several people tell me that I should sell this bundle of printables but I just didn’t feel comfortable doing that because 1) I made it for myself and not to turn a profit, 2) I  am no fitness guru, I just felt like these prints would be helpful for myself & others may benefit from them in their health and wellness journey as well.  So enjoy them because I am offering them for FREE, you can download the 12 page PDF right here.  The prints are sized at 8×10.

So I put them in the order that I organized my binder, but feel free to arrange them however you would like, or don’t print ones you don’t want, or print multiples of some… whatever works for you, your lifestyle, goals, etc.

I started this binder a long time ago and it has kind of evolved into what it is now.  It wasn’t always so cutesy… it started with me just writing lists on notebook paper in different categories.  As I ran into new problems, such as talking to my Doctor and her telling me I needed to be on a Keto diet, I added new categories and sections.  I do feel like I have covered quite a bit, but if you have any suggestion for me, let me know!

So here are some of the things you will need to put this binder together:

  • Binder (I got mine for $2.40 at Wal Mart)
  • Clear page protectors (you can get these at Wal Mart, Dollar Store, any craft store)
  • Paper & a printer (or send to a print shop)
  • Clear packing tape, contact paper (optional but you can get either at Dollar Store), & double-sided sticky tape

So here is a guide to what I included in the printable bundle & their uses:

COVER PAGE

This is kind of self-explanatory, the first page is just a cover page for the binder & is simply titled “Fitness”.
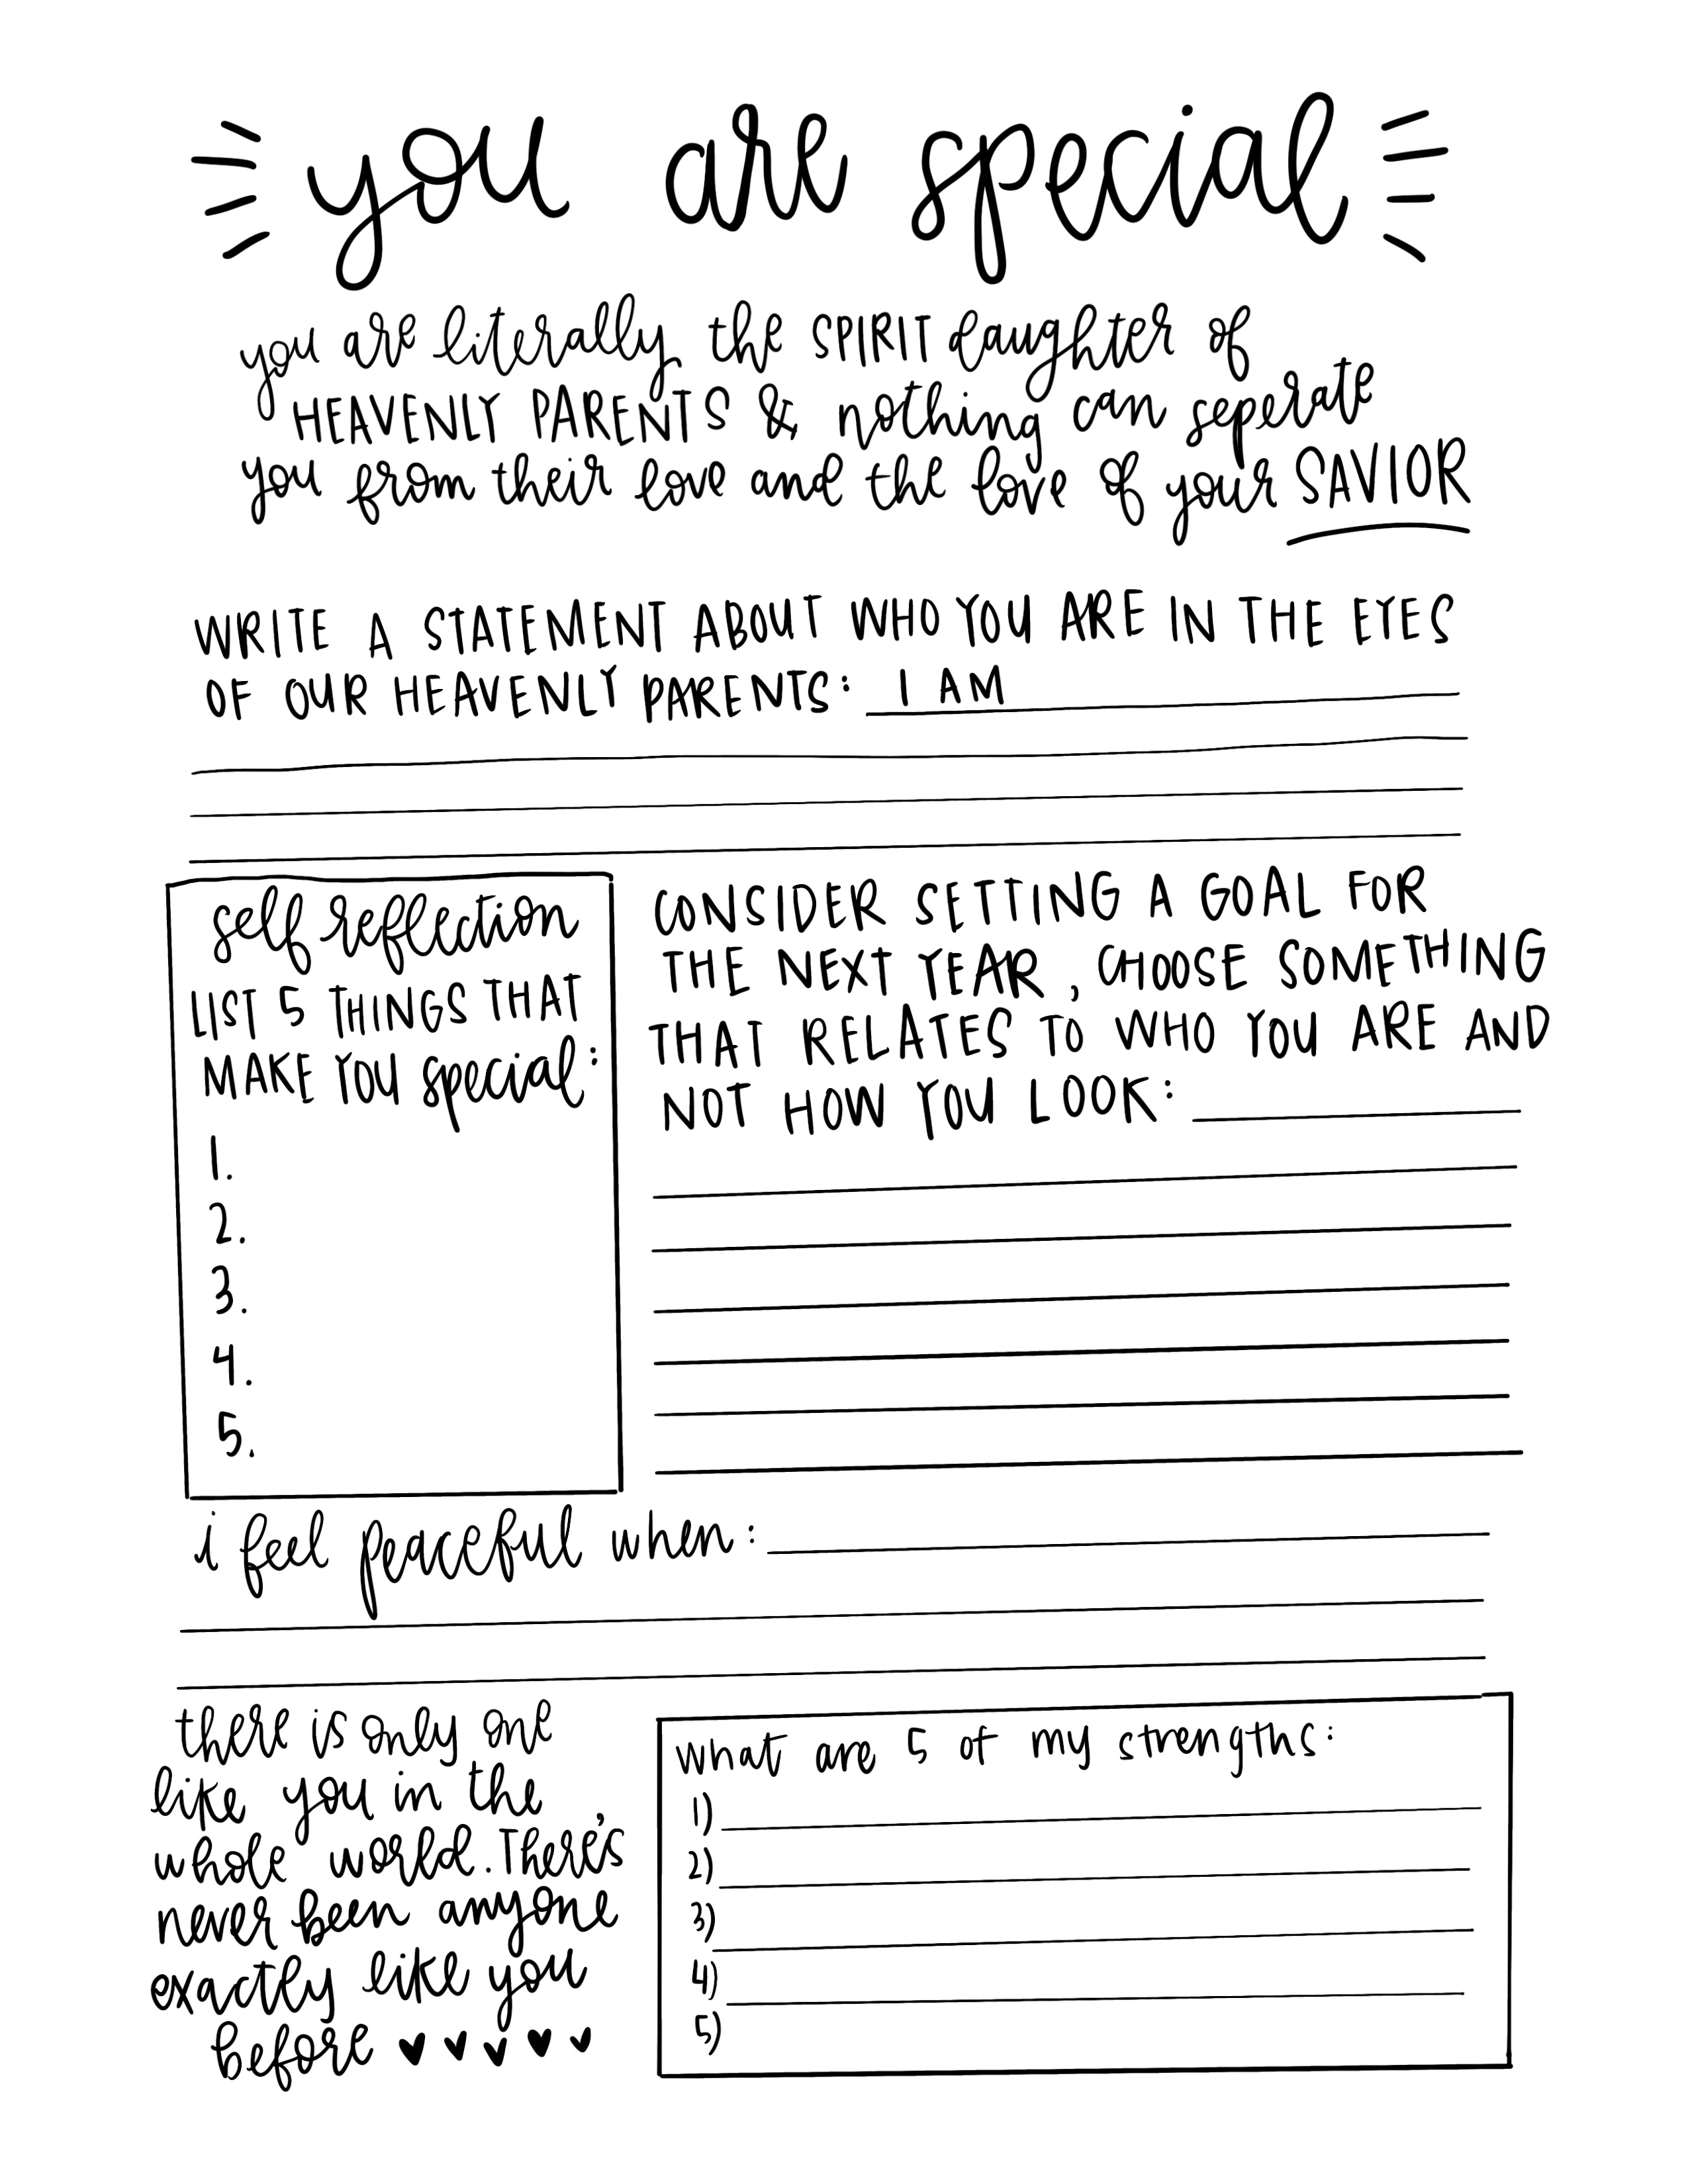
MISSION STATEMENT

I think it is important this page is at the very beginning, first page of the binder so that you can see it right when you open it and know WHY you are doing this.

TABS & EXERCISE TRACKER

This print is obviously meant to help you to organize your binder a little easier and turn to the section you want to quicker.  You don’t need to print all the prints on cardstock but I would recommend printing this one on cardstock just so that the tabs and exercise tracker can be thicker and stronger.  Then you can either use contact paper, or clear tape to cover both of them.  For the tabs, fold them in half and put double stick tape on both sides then tape them down on each main category tapering down.  I included 2 spare tabs if you guys have ideas for your own section, you could write in them in gold gel pen if you want to keep the look cohesive with the others ;).  The exercise tracker was just something a little extra I wanted to throw in as a way to keep track of each day you worked out that week.  It’s a 4×6 print and once you cover it in contact paper (or tape) you can use a dry erase marker to make marks on it that are erasable!  I like to re-purpose old flat magnets that just sit on your fridge you got for free, and I actually LOVE those little list notepads with a magnet on the back so when I use up all the notes I keep the magnets for little projects like these & double-side tape it to the print.  If you don’t have a magnet, just use your double stick tape to tape it to the fridge for easy tracking.

MEAL PLAN

I realize everybody’s eating habits/likes/dislikes are all different so you can go online, Pinterest, wherever and find tons of recipes, meal plans, etc. that you can print out and put in clear pages (or 3 hole punch).  I also put a little section of loose 3 hole punch notebook paper so you can write down recipes, meal plans, whatever.  I put a printable of the Keto Diet, what it is, how it works etc., and then I found a 14 day meal plan for my personal binder.

EXERCISE

This section is similar to Meal Plan where it’s really up to you with what kind of information you would like to include.  You can print out or write down different work outs to include in this section. There is also loose notebook paper to write on in this section.

PROGRESS

This section was really important to me and includes the most printables.  I will give a breakdown of each printable to share how I envisioned them being used:

Goals: I felt this one should go first to remind you of your goals, I put a section for short term goals, long term goals & a reward section.  You need to remember to reward your accomplishments beyond just the transformation, though that is the ultimate reward.  But when you get to a milestone, treat yo self!

Healthy Guidelines: I took information for this print from an article entitled “How Much Should I Weigh For My Height & Age” by Medical News Today.  You can also go to that link to check your BMI.  The chart includes where you should be in terms of your height and shows Normal, Overweight, Obese & Extreme Obesity.  There is a small area on the top right hand side for you to put your own information.  There is one below to keep track of your BMI if you’d like.  Again, these are a few guidelines according to an online website, I am NOT a nutritionist, trainer, anything like that so obviously focus on being healthy and don’t label yourself according to what is “normal”; You know your body better than anyone.  I personally wanted some kind of guideline to see where I should be weigh-wise.  I know some people think BMI is crap, and I don’t know a ton about that either. So again, I was just curious to see what the guidelines are and where I am on that scale to guide me in my fitness journey.

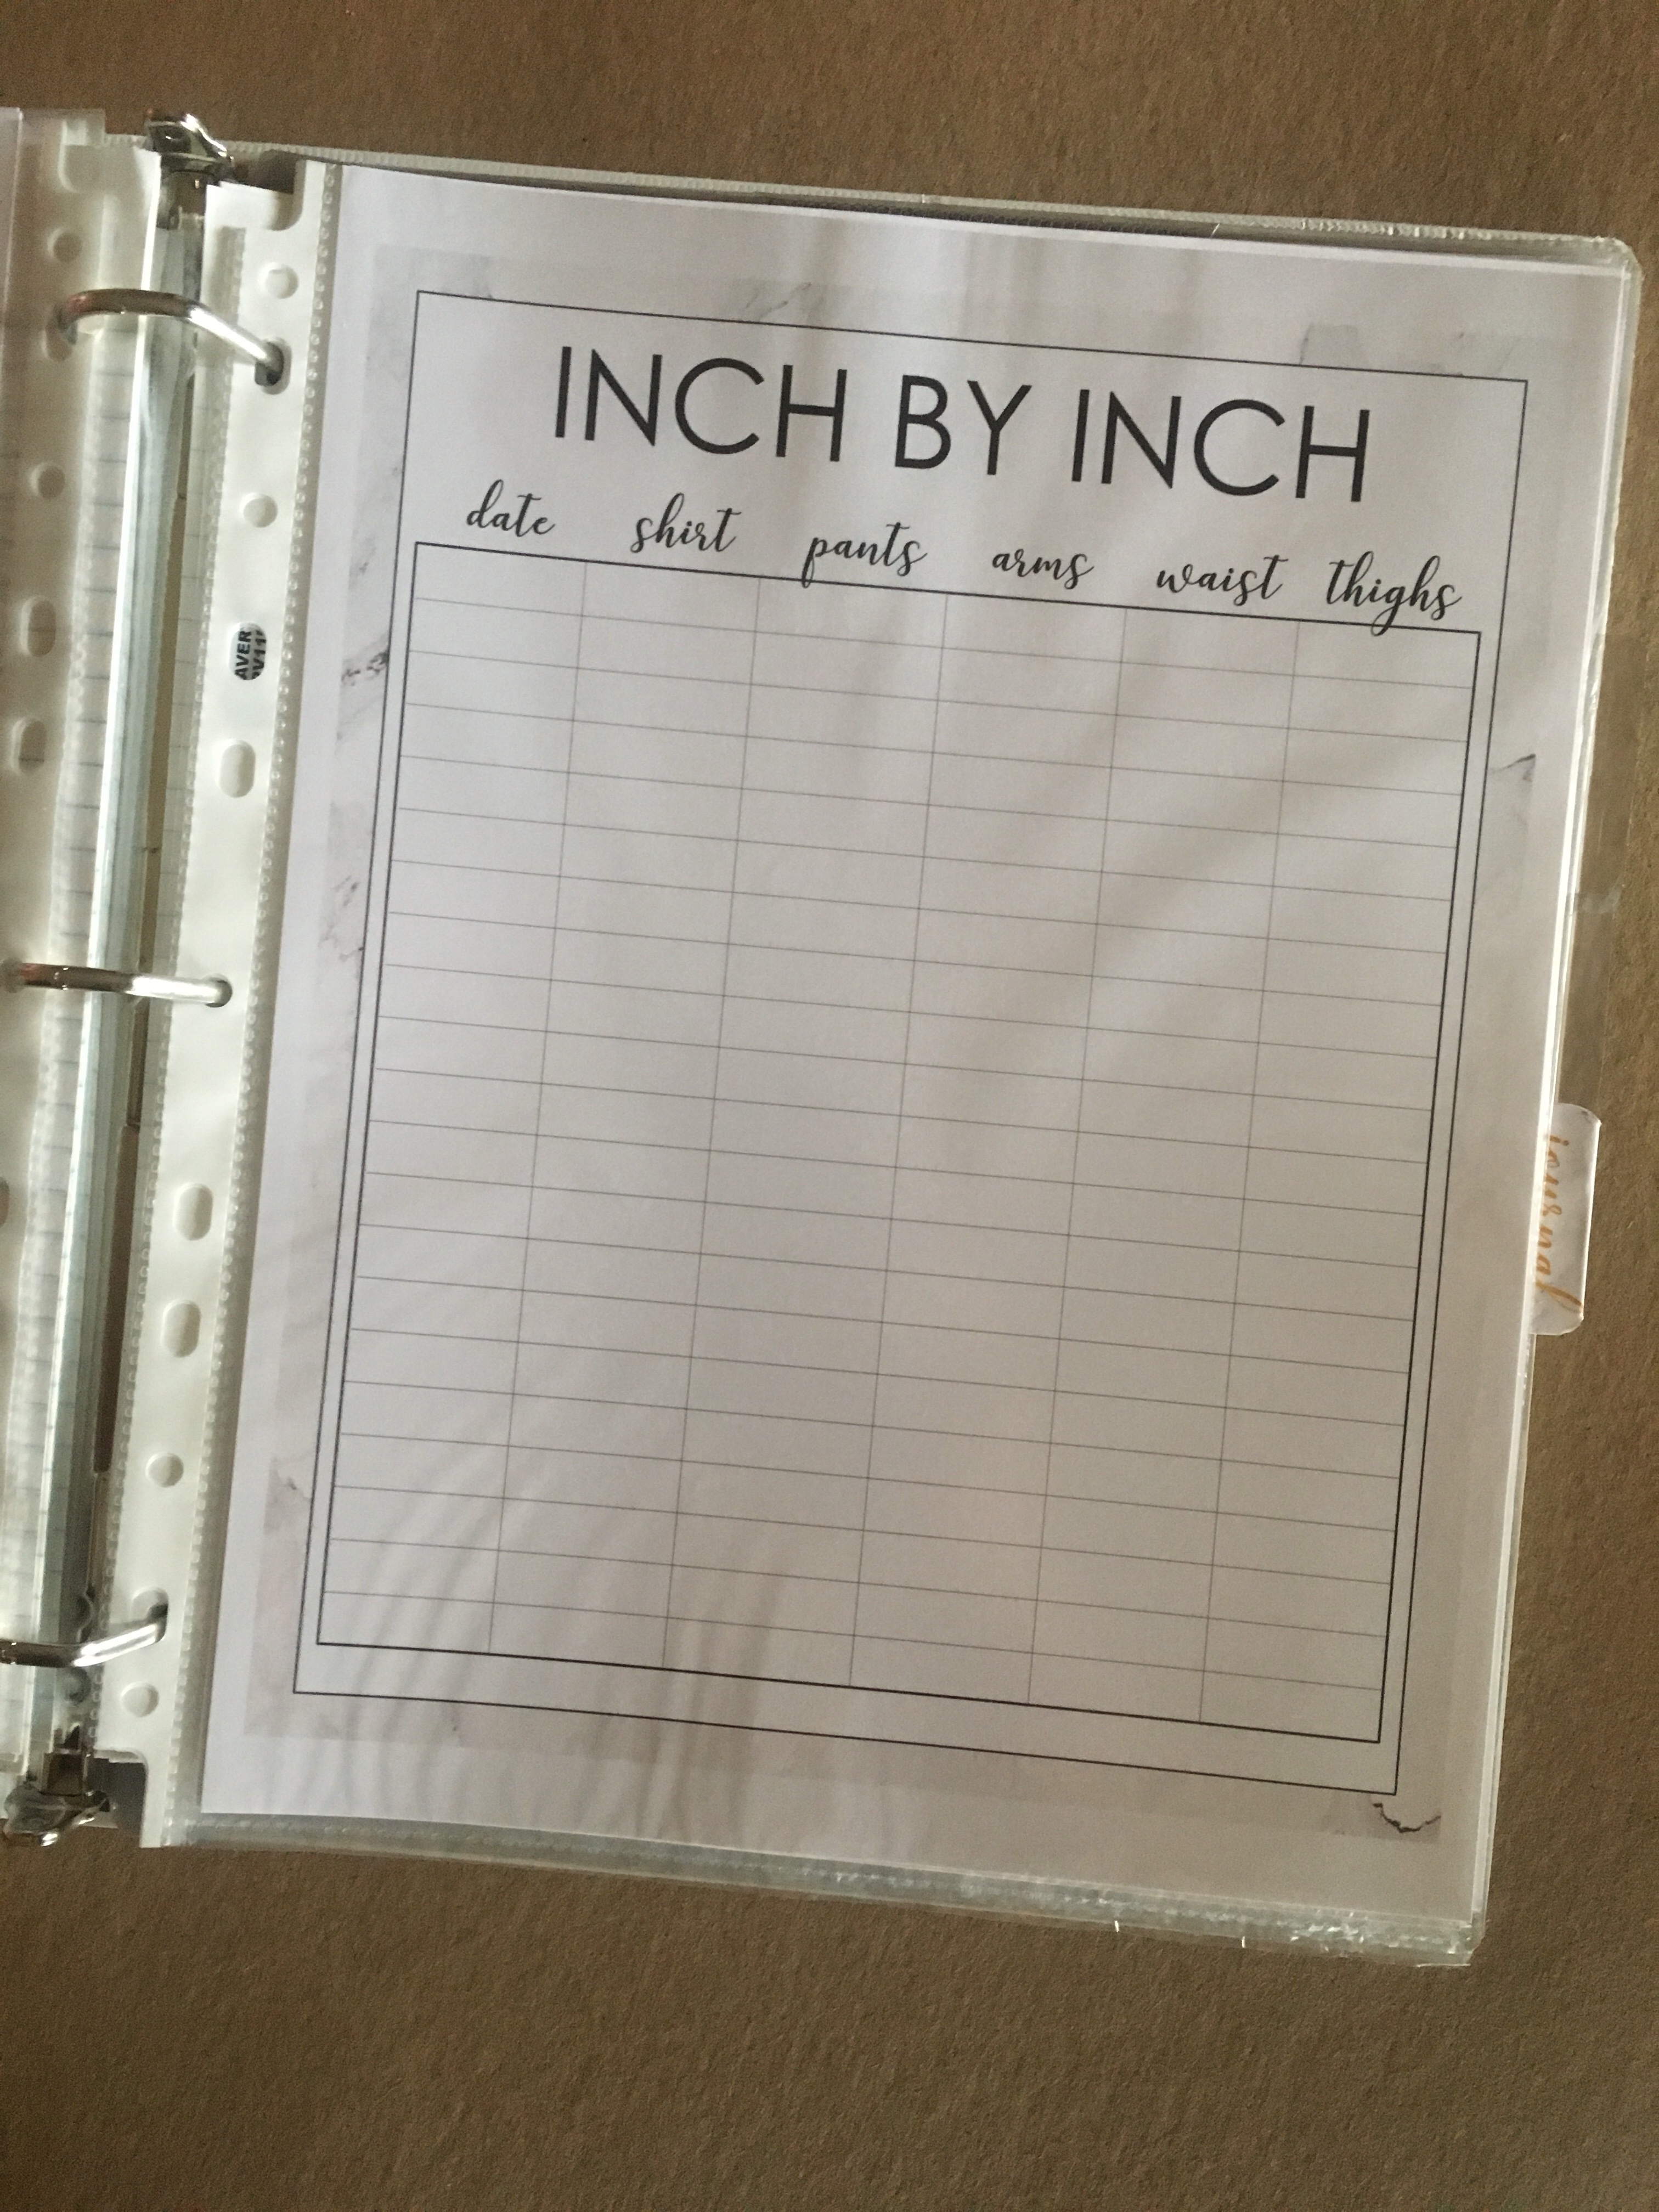
Inch by Inch:  This print has columns for measuring how your progress is going according to body measurements.  There is a column for: date, shirt size, pant size, arms, waist & thighs.  I need prints like this to be able to see WHEN the progress is being made and WHERE.  If you measure often, just print out multiple prints of these to keep in your binder.

Non-Scale Victories:  This is a print I added as an afterthought, I think it’s important to not only focus on “physical” progress, but also mental, emotional etc.  You could put things like, “Someone told me I looked thinner today and it made my day,”, “I looked in the mirror and was proud at what I saw.”, “I fit into an old pair of pants today…”  You get the idea!

Habits:  I originally had a soda log in my old binder that I kept track of dates I would begin with my “soda free” period of time. I could be proud that I didn’t drink soda for 1 whole month.  I wasn’t going to put it in but I had several people tell me they thought it was a good idea. I felt like this print could be used for several different areas in life that you can keep track of, which is why I left it without a title.  For instance, if you want to write in: Soda Log, Gluten Free, Sugar Free, Keto Diet, Atkins Diet… etc.  Go ahead and write it in yourself. If you want to improve in several of these areas, print out multiple copies of this print!

JOURNAL

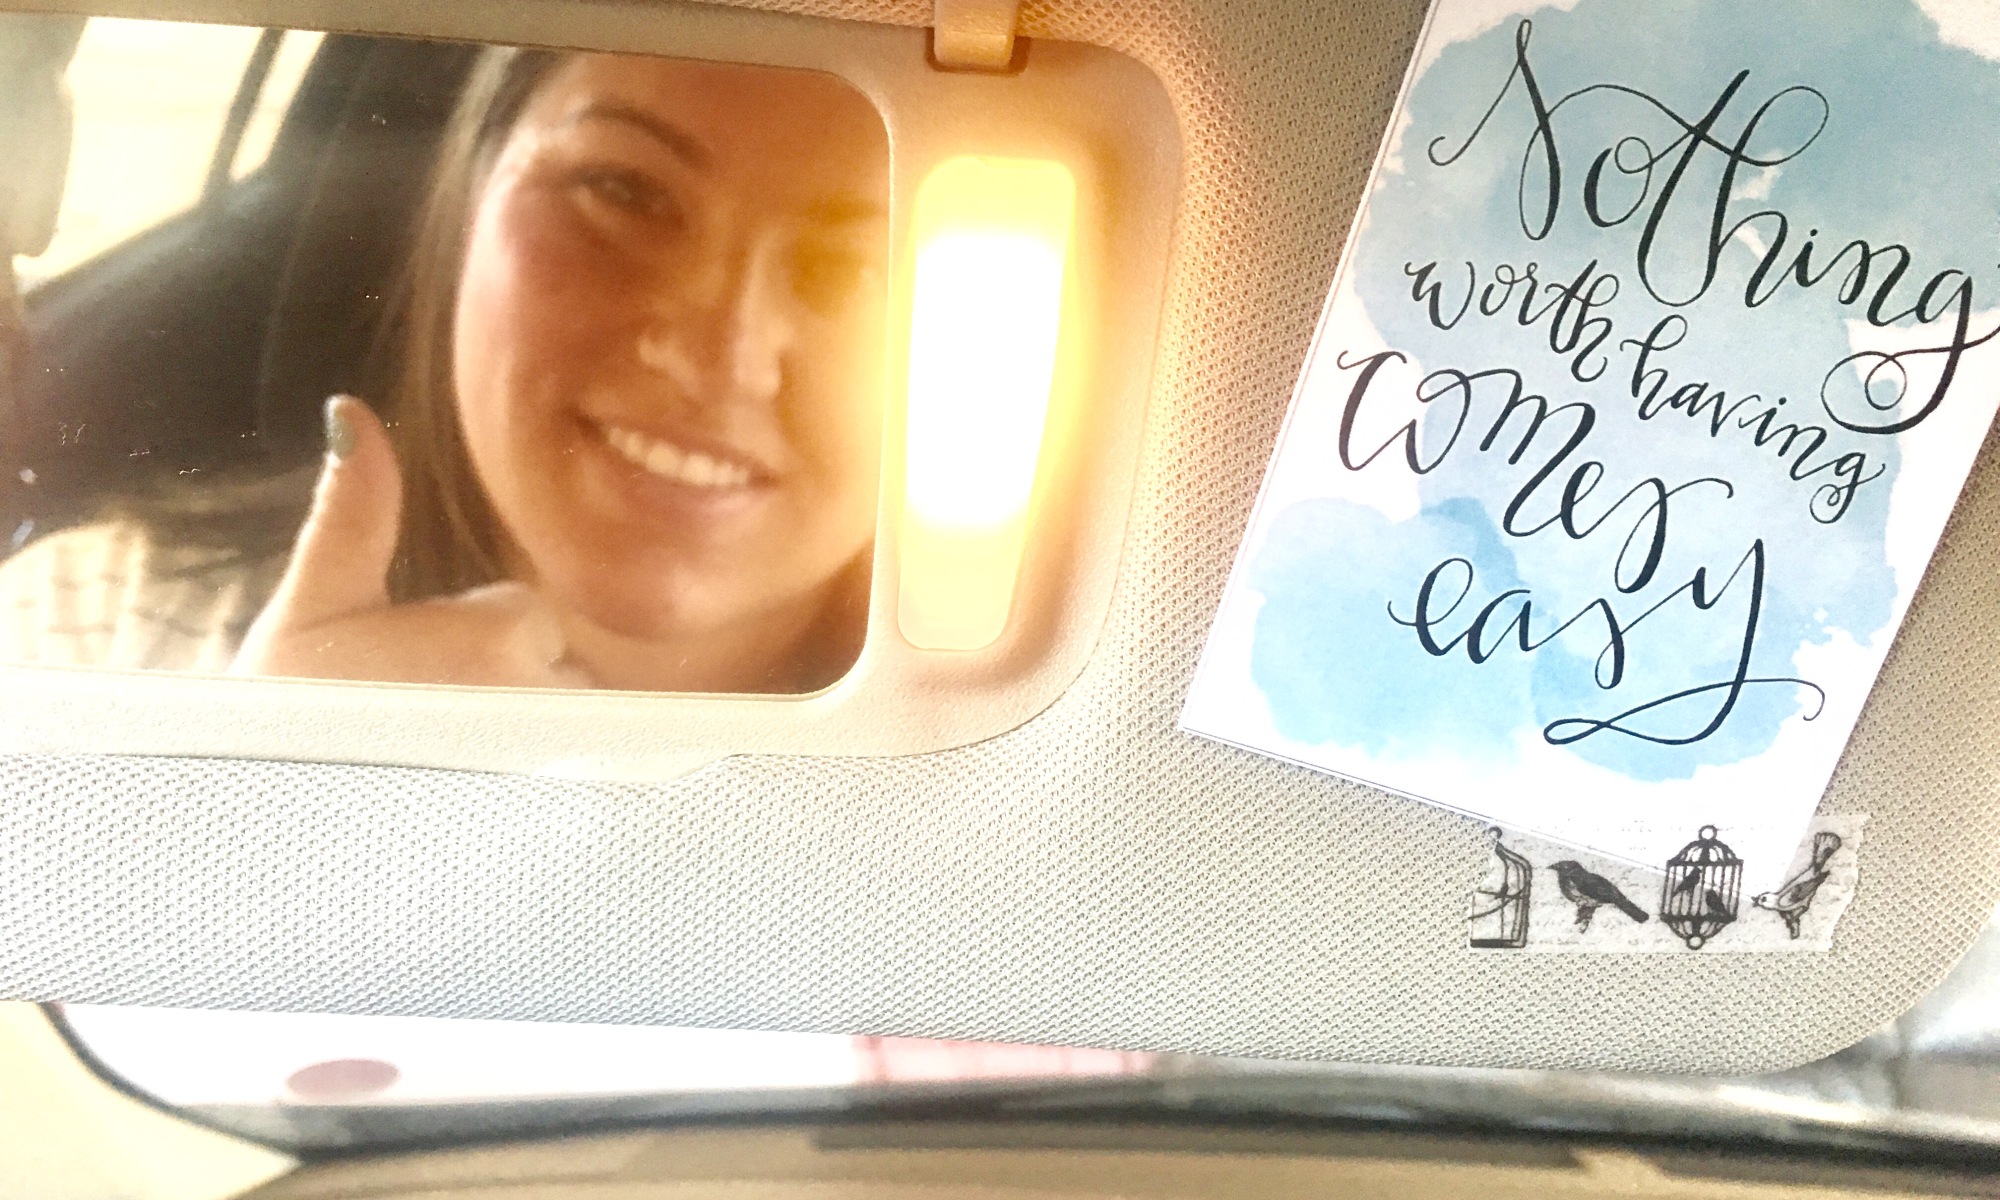
I recently added this section to my own binder after I spoke to my doctor and she told  me all of these things going on with my body. But now, I have health issues that I wanted a special place to keep track of them rather than just my plain old journal where it would get blended in to all my other thoughts.  I started a “fitness journal” to keep track of the date I went to the doctor, advice and concerns that they had and my thoughts and feelings about it.  So that is how it started. I like to include inspirational quotes, any negative or positive feelings I’m having towards my fitness and health journey.  This journal is a very good place to keep track of it all.

This project was something that was very meaningful to me and I hope it can help someone else in their fitness journey.  Health and fitness is so important and it is too easy to put on the back burner… “I’m too busy,” “I’m too tired,” or you get too overwhelmed not knowing where to start. Lists and making a game plan really help me to hold myself accountable and feel in control.  I truly hope that this free fitness binder printable helps give you the motivation to keep going. Remember that change doesn’t happen overnight (even though we wish it did).  I feel this is a good a time of year to recommit to your health.
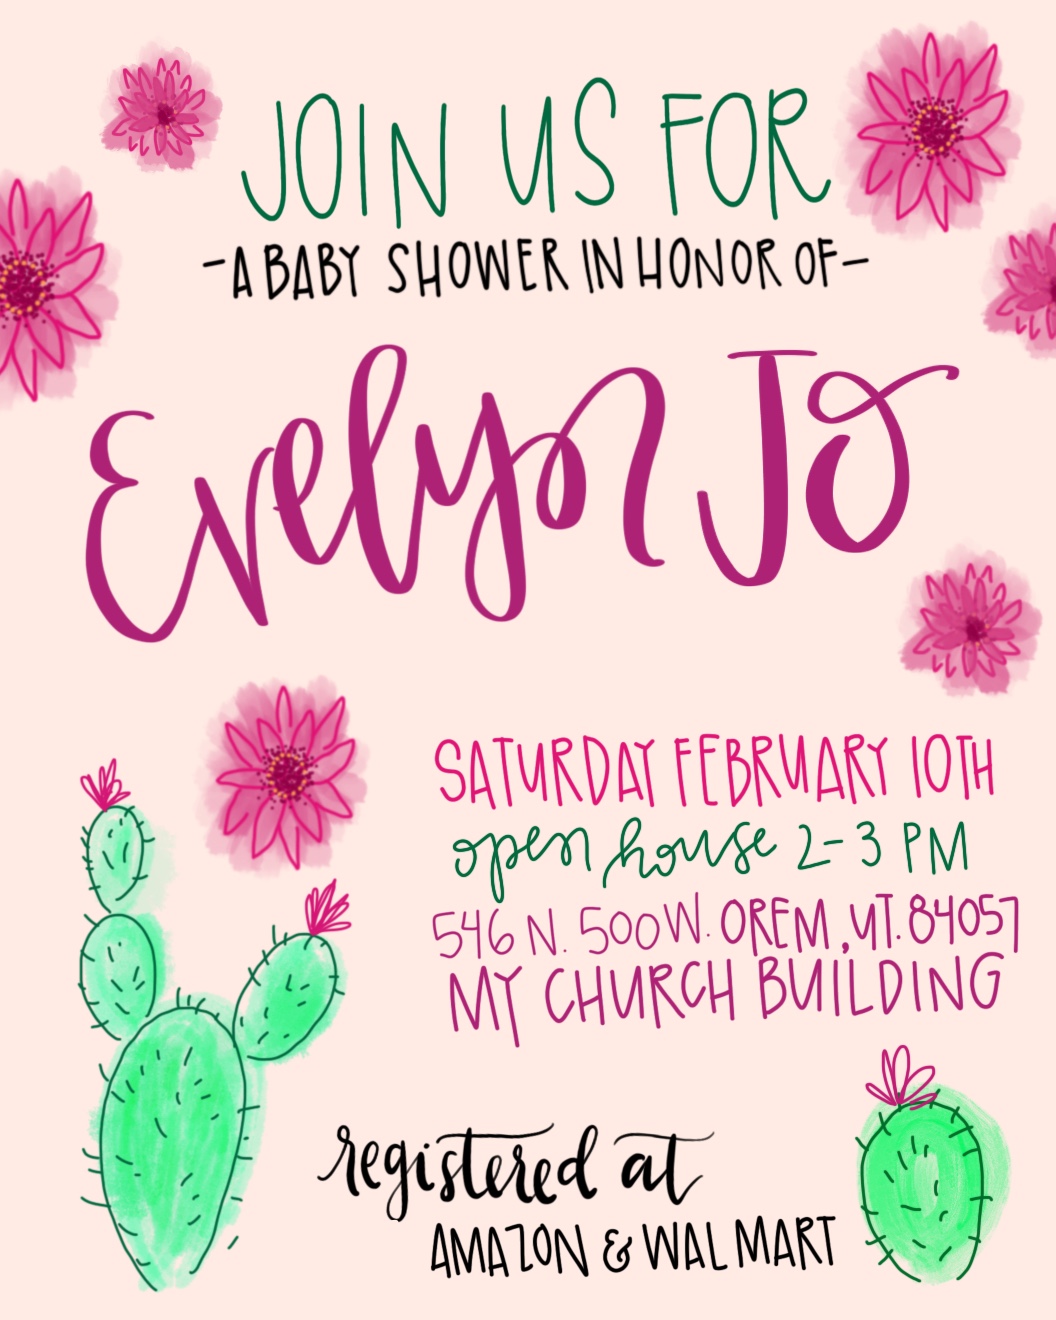
Signature

Inspirational Quote Freebie

I designed these little hand lettered inspirational quotes because I am the kind of person that needs a little reminder daily to eat healthy, work out and do those things that contribute to a healthier body.  I will go more into this topic in other posts but this one is all about YOU, that’s right you, you little cutie!

I wanted to design some quotes that have to do with inspiration, some of them don’t just apply to “eating clean/healthy” or “getting fit”.  In fact, many of them can really be used for any area in life you are trying to improve in or succeed at.  “How bad do you want it?”, this phrase is one that can be asked about anything… “How bad do you want to graduate with that degree?, “How bad do you want to quit smoking?”, “How bad do you want to be the best Mom you can be?”… you get the idea.

That is why I wanted to share these little guys so you can put it up somewhere you will see it everyday, so grab some double-sided tape or some cute washi tape and put one up, or all!  Put it on your mirror, your fridge, in your wallet, inside the visor in your car, or use as a bookmark!

This document includes 7 different hand lettered quotes on a watercolor background (pastels for spring and ‘new beginnings’).  The dimensions of each card is 2.5″ x 3.5″, the size of a wallet sized photo.  Download here on my website, print it out, cut, and display them wherever you desire!